
There is nothing quite like the smell of homemade bread baking in the oven. This Soft and Fluffy White Bread has a beautifully golden crust and a light, tender interior that makes every slice irresistible.
This easy recipe makes two loaves using simple pantry ingredients. It’s perfect for sandwiches, morning toast, grilled cheese, or serving warm with butter and jam. Even if you’re new to baking bread, the detailed instructions will help you achieve wonderfully soft homemade loaves.
Why You’ll Love This Homemade Bread
- It makes two soft and fluffy loaves.
- The ingredients are simple and affordable.
- A stand mixer does most of the kneading.
- The dough is easy to shape.
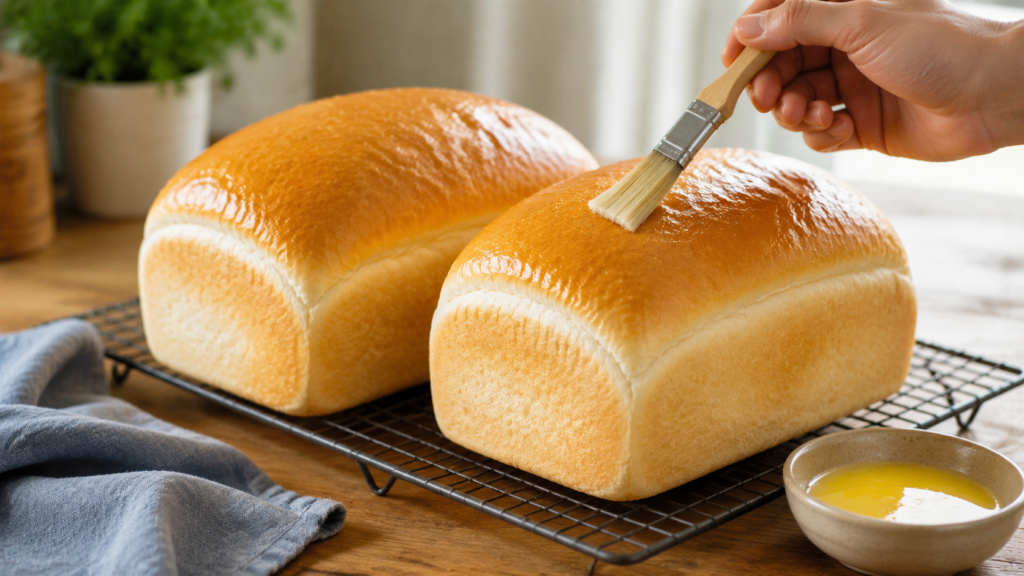
- Brushing the warm loaves with butter creates a soft, flavorful crust.
- It’s delicious for sandwiches, toast, or enjoying straight from the oven.
Ingredients
- 1⅔ cups lukewarm water, divided
- 2¼ teaspoons instant yeast or active dry yeast
- 1 teaspoon granulated sugar
- 1 tablespoon honey, or additional sugar
- 1 teaspoon salt
- 1½ tablespoons unsalted butter, cubed and at room temperature
- 4½ cups all-purpose flour, plus 1–2 tablespoons if needed
- 1½ tablespoons butter, melted, for brushing over the baked loaves
How to Make Soft and Fluffy White Bread
Activate the Yeast
Add half of the lukewarm water to the bowl of a stand mixer. Stir in the sugar and yeast, then allow the mixture to stand for approximately 10 minutes. The yeast should become foamy on top.
If the mixture does not foam, the yeast may be expired or the water may have been too hot or too cold. It is best to start again with fresh yeast before adding the remaining ingredients.
Mix the Dough
Once the yeast is foamy, add the remaining lukewarm water, honey, salt, flour, and softened butter.
Turn the stand mixer to low and allow the ingredients to come together into a dough.
Stop the mixer and check the consistency. The dough should feel soft and slightly tacky but should not stick heavily to your fingers. If it is still very sticky, add 1–2 tablespoons of flour, adding only a little at a time.
Knead the Dough
Turn the mixer to medium-low and knead the dough for 10 minutes. The finished dough should be smooth, soft, and elastic.
Remove the dough from the mixer and shape it into one large ball.
First Rise
Lightly grease the inside of a large bowl. Place the dough in the bowl and cover it with plastic wrap or a clean tea towel.
Allow the dough to rise in a warm, draft-free location for approximately one hour, or until it has doubled in size.
Shape the Loaves
Once the dough has doubled, remove it from the bowl and gently punch it down to release excess air.
Divide the dough into two equal portions and form each portion into a ball.
Using a rolling pin, roll each dough ball into an even rectangle. Starting at one short end, tightly roll the dough into a loaf as you would a jelly roll. Pinch the seam closed and place the loaf seam-side down in a greased bread pan.
Repeat with the second portion of dough.
Second Rise
Cover both bread pans loosely with plastic wrap or a clean tea towel. Allow the loaves to rise for approximately 45 minutes, or until the dough has doubled and reaches the top or slightly above the edges of the pans.
While the loaves rise, preheat the oven to 390°F.
Bake the Bread
Remove the plastic wrap or towels and place the loaves in the preheated oven.
Bake for approximately 25 minutes. The finished loaves should have a beautiful golden-brown crust and sound hollow when gently tapped on top.
Carefully remove the bread from the pans and transfer the loaves to a cooling rack.
Brush the tops and sides with melted butter while the bread is still warm. Allow the loaves to cool completely before slicing.
Jessie’s Tips for Perfect Homemade Bread
Make sure the water is lukewarm rather than hot. Water that is too hot can damage the yeast, while cold water will slow the rising process.
Measure the flour carefully by spooning it into the measuring cup and leveling the top. Packing flour into the cup can add too much and create dense bread.
Add extra flour only if the dough is truly sticky. A soft dough produces a softer loaf, so avoid adding more flour than necessary.
Rising times may vary depending on the temperature of your kitchen. Watch the size of the dough rather than relying only on the clock—it should double during each rise.
Allow the bread to cool before cutting it. Slicing while it is very hot can compress the soft interior and make the bread appear gummy.
How to Store Homemade Bread
Once completely cool, store the bread in an airtight container or tightly sealed bag at room temperature. For the best flavor and texture, enjoy it within 3–4 days.
Because this recipe makes two loaves, you can enjoy one immediately and freeze the second. Wrap the cooled loaf tightly and place it in a freezer-safe bag. Freeze it whole or pre-slice it for convenient individual servings.
Ways to Enjoy This Fluffy White Bread
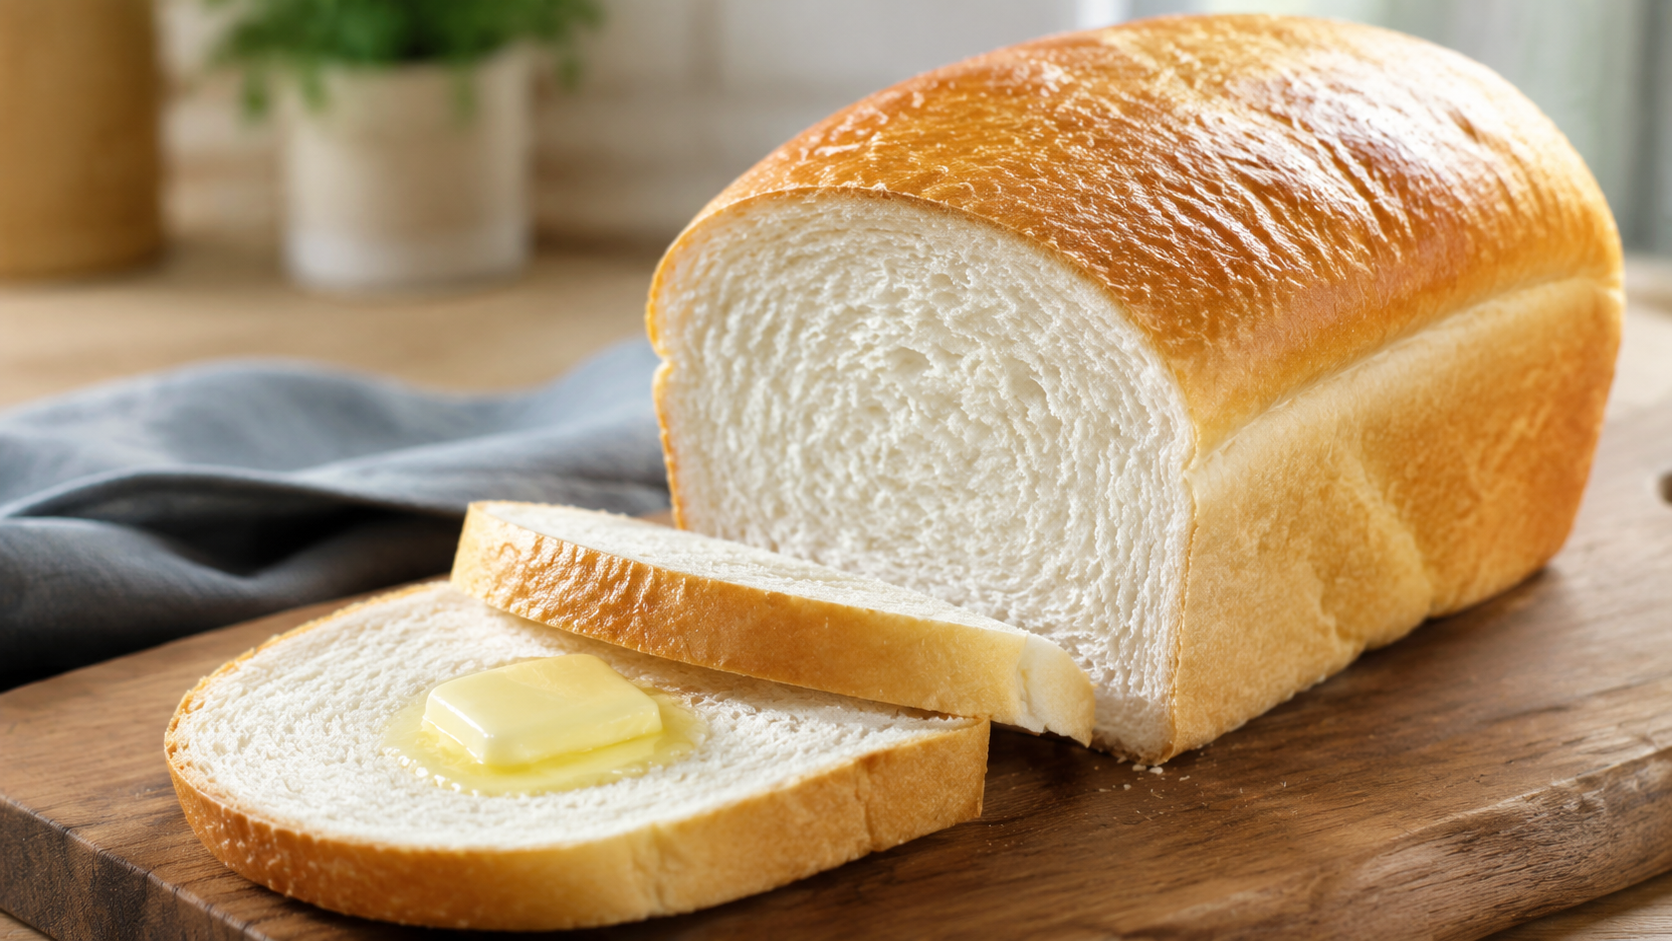
Use this homemade bread for sandwiches, French toast, grilled cheese, garlic toast, or your favorite breakfast toast. It is also wonderful served warm alongside soup, stew, or a comforting family dinner.
However you serve it, this Soft and Fluffy White Bread proves that a few basic ingredients can create something truly special.
Soft Fluffy Homemade White Bread
Ingredients
Method
- Add half of the lukewarm water to the bowl of a stand mixer. Stir in the sugar and yeast, then allow the mixture to stand for approximately 10 minutes. The yeast should become foamy on top.
- If the mixture does not foam, the yeast may be expired or the water may have been too hot or too cold. It is best to start again with fresh yeast before adding the remaining ingredients.
- Mix the Dough
- Once the yeast is foamy, add the remaining lukewarm water, honey, salt, flour, and softened butter.
- Turn the stand mixer to low and allow the ingredients to come together into a dough.
- Stop the mixer and check the consistency. The dough should feel soft and slightly tacky but should not stick heavily to your fingers. If it is still very sticky, add 1–2 tablespoons of flour, adding only a little at a time.
- Knead the Dough
- Turn the mixer to medium-low and knead the dough for 10 minutes. The finished dough should be smooth, soft, and elastic.
- Remove the dough from the mixer and shape it into one large ball.
- First Rise
- Lightly grease the inside of a large bowl. Place the dough in the bowl and cover it with plastic wrap or a clean tea towel.
- Allow the dough to rise in a warm, draft-free location for approximately one hour, or until it has doubled in size.
- Shape the Loaves
- Once the dough has doubled, remove it from the bowl and gently punch it down to release excess air.
- Divide the dough into two equal portions and form each portion into a ball.
- Using a rolling pin, roll each dough ball into an even rectangle. Starting at one short end, tightly roll the dough into a loaf as you would a jelly roll. Pinch the seam closed and place the loaf seam-side down in a greased bread pan.
- Repeat with the second portion of dough.
- Second Rise
- Cover both bread pans loosely with plastic wrap or a clean tea towel. Allow the loaves to rise for approximately 45 minutes, or until the dough has doubled and reaches the top or slightly above the edges of the pans.
- While the loaves rise, preheat the oven to 390°F.
- Bake the Bread
- Remove the plastic wrap or towels and place the loaves in the preheated oven.
- Bake for approximately 25 minutes. The finished loaves should have a beautiful golden-brown crust and sound hollow when gently tapped on top.
- Carefully remove the bread from the pans and transfer the loaves to a cooling rack.
- Brush the tops and sides with melted butter while the bread is still warm. Allow the loaves to cool completely before slicing.
Leave a Comment
Did you make this Soft and Fluffy White Bread? I’d love to hear how your loaves turned out! Leave a comment below and let me know how you served it—or tell me about your favorite way to enjoy fresh homemade bread.